Lab 5: ROS Services and Wall Following
Overview
In this lab, we will expand our knowledge of working with ROS by using ROS Services, and we will compare it with the use of ROS Topics in the previous labs. In addition, we will create two new ROS Nodes that will communicate with a ROS Service call, and in the end, we will create a new customized ROS Service type.
ROS Services: Request and Response
As seen in the previous labs, ROS Topics are used to stream data between ROS Nodes to help in their communication and exchange of information to perform a more complex task. ROS Services represent also a way of communication within ROS Nodes, but they are mainly based on request and response interactions.
Specifically, a ROS Service is described by specific data fields, as a type of a ROS Topic, however, there is a distinction between request and response fields that use different parameters. For example, the rospy_tutorials/AddTwoInts is a ROS Service that has been created by ROS Python online tutorials to demonstrate the ROS service request of adding two different numbers.
int64 a
int64 b
---
int64 sum
Initially, the separation line – separates the request and response parameters. In our example, the int64 a and int64 b are the parameters of the request of the ROS service, that need to be set before the service call. Thus, with the service call, the ROS node that has initialized the ROS Service triggers its function and forms the response variables, which will be returned. On the service caller side, the caller node will get back the output (response) of the ROS Service call and will store it locally to be accessed.
As it is obvious, the request and response variables can be more than one, depending on the used ROS Service.
The rosservice bash command can be used in the same way as the rostopic command, to preview further information about the available ROS Services. For example, the argument list is used to list all the available ROS Services,
rosservice list
The info argument is used to show information about the selected ROS Service, i.e. add_two_ints.
rosservice info add_two_ints
To preview the full use of the rosservice command you can use the help argument, such as,
rosservice help
Notably, the rossrv bash command is used to display information about ROS Service types, such as,
rossrv show rospy_tutorials/AddTwoInts
ROS Service Use Example
Let’s see an example by using the rospy_tutorials/AddTwoInts ROS Service. First, create a new ROS Publisher and Subscriber node, as followed on our ROS tutorial and name them node_a.py and node_b.py under the ee106w26 ROS package. In addition, modify both the node_a and node_b to the following,
#!/usr/bin/env python3

import rospy
from std_msgs.msg import String, Header
from rospy_tutorials.srv import AddTwoInts

def talker():

   pub = rospy.Publisher('chatter', String, queue_size = 10)
   rate = rospy.Rate(10) # 10hz

while not rospy.is_shutdown():
   header = Header()
   header.stamp = rospy.Time.now()

   content = "welcome to the Robotics Lab " + str(header.stamp)
   pub.publish(content)

   # Call of the ROS Service 'add_two_ints'
   rospy.wait_for_service('add_two_ints')

   add_two_ints = rospy.ServiceProxy('add_two_ints', AddTwoInts)
   try:
       response_msg = add_two_ints(2, 1)
       print(response_msg)
   except rospy.ServiceException as exc:
       print("Service did not process request: " + str(exc))

   rate.sleep()


if __name__ == '__main__':
   try:
       rospy.init_node('node_a')
       talker()
   except rospy.ROSInterruptException:
       pass
and the node_b,
#!/usr/bin/env python3

import rospy
from std_msgs.msg import String
from rospy_tutorials.srv import AddTwoInts

def callback(data):
   rospy.loginfo(data.data)

# ROS Service function to be executed when the service is called. The return will provide the response of the service to the caller.
def add_two_ints(req):
   print(req)
   return (req.a + req.b)

def listener():
   rospy.init_node('node_b')
   rospy.Subscriber('chatter', String, callback)
   # Initialization of the ROS Service
   rospy.Service('add_two_ints', AddTwoInts, add_two_ints)
   rospy.spin()

if __name__ == '__main__':
   listener()
As it is evident, the highlighted code are new additions in our ROS publisher-subscriber nodes, to integrate the creation (node_b) and the call (node_a) of the ROS Service.
Reading Materials
ROS Services
Submission
Submission: Group submission via Gradescope (2 people)
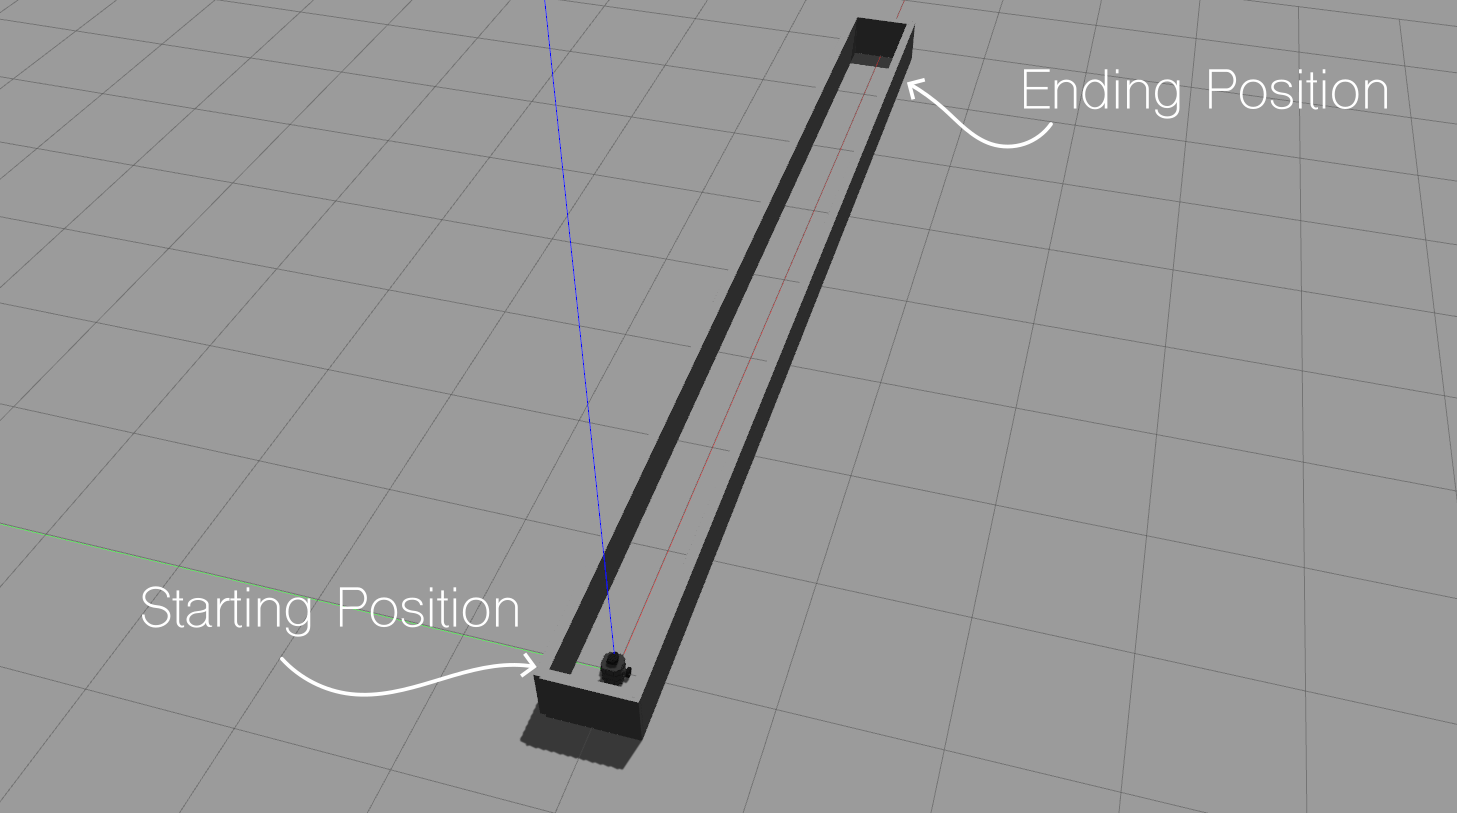
Goal: Creation of a ROS Node that can command the Turtlebot3 to follow the left wall, in an unknown environment, by using LiDAR information.
Due time: 11:59pm, Feb 19, Thursday
Files to submit:
lab5_report.pdf including the developed ROS Node
Grading rubric:
+ 5% Create a new folder in
ee106w26ROS package, by using the nameworlds. Download the Gazebo world and copy it inside theee106w26/worlds/folder.+ 10% Create the below ROS launch file and save it inside the
ee106w26/launch/, under the name oflab5_turtlebot_world.launch. Execute the launch file in a separate terminal by running firstexport TURTLEBOT3_MODEL=burger.
<launch>
<arg name="model" default="$(env TURTLEBOT3_MODEL)" doc="model type [burger, waffle, waffle_pi]"/>
<arg name="x_pos" default="0.0"/>
<arg name="y_pos" default="0.0"/>
<arg name="z_pos" default="0.0"/>

<include file="$(find gazebo_ros)/launch/empty_world.launch">
   <arg name="world_name" value="$(find ee106w26)/worlds/straight_line.world"/>
   <arg name="paused" value="false"/>
   <arg name="use_sim_time" value="true"/>
   <arg name="gui" value="true"/>
   <arg name="headless" value="false"/>
   <arg name="debug" value="false"/>
</include>

<param name="robot_description" command="$(find xacro)/xacro --inorder $(find turtlebot3_description)/urdf/turtlebot3_$(arg model).urdf.xacro" />

<node pkg="gazebo_ros" type="spawn_model" name="spawn_urdf" args="-urdf -model turtlebot3_$(arg model) -x $(arg x_pos) -y $(arg y_pos) -z $(arg z_pos) -param robot_description" />
</launch>
+ 10% Broadcast the static tranformation between the
base_footprintandbase_scanframe, in the similar way with Lab 2. In specific, thebase_scanis located 20cm above frombase_footprintand is on the same x and y position, as well as there is no relative rotation. Also, broadcast 2 new ROS frames that will be placed on the left and right body parts of the robot at the same z level as thebase_scan. Thus, name these two new frames asleft_limitandright_limitand broadcast them 7cm left and right of thebase_scanframe. Similarly, in that case, the new frames follow the same orientation of thebase_scanand are placed on the same x and z levels. Please ensure that the frames are properly placed at the correct positions, by checking also through RViz.+ 20% Create a ROS Node that will contain a ROS subscriber to the robot’s onboard LiDAR module, a ROS publisher on the
cmd_velROS Topic of type Twist. Include a ROS listener of capturing the transformation of the LiDAR module and theleft_limitframe of the robot.+ Transform the captured ranging measurements of the left side of the robot (1.52 to 1.62 rad) with respect to the
left_limitframe, calculate their distance from the new origin (0,0) (Euclidian distance, Pythagorean Theorem, etc.), and obtain the minimum distancemin_distfrom captured and transformed range measurements.+ 20% By using that information, develop a navigating behavior of the Turtlebot3 to move
forwardif themin_distis in [10,20] cm, moveforwardandslightly rightifmin_distis less than 10cm (approaching wall), and moveforwardandslightly leftifmin_distis more than 20cm (leaving the wall behind). Expand the functionality of this behavior, by adding a check of the front and first range scan (idx=0) is less than 30cm, to detect if the robot reached at the end of the map.
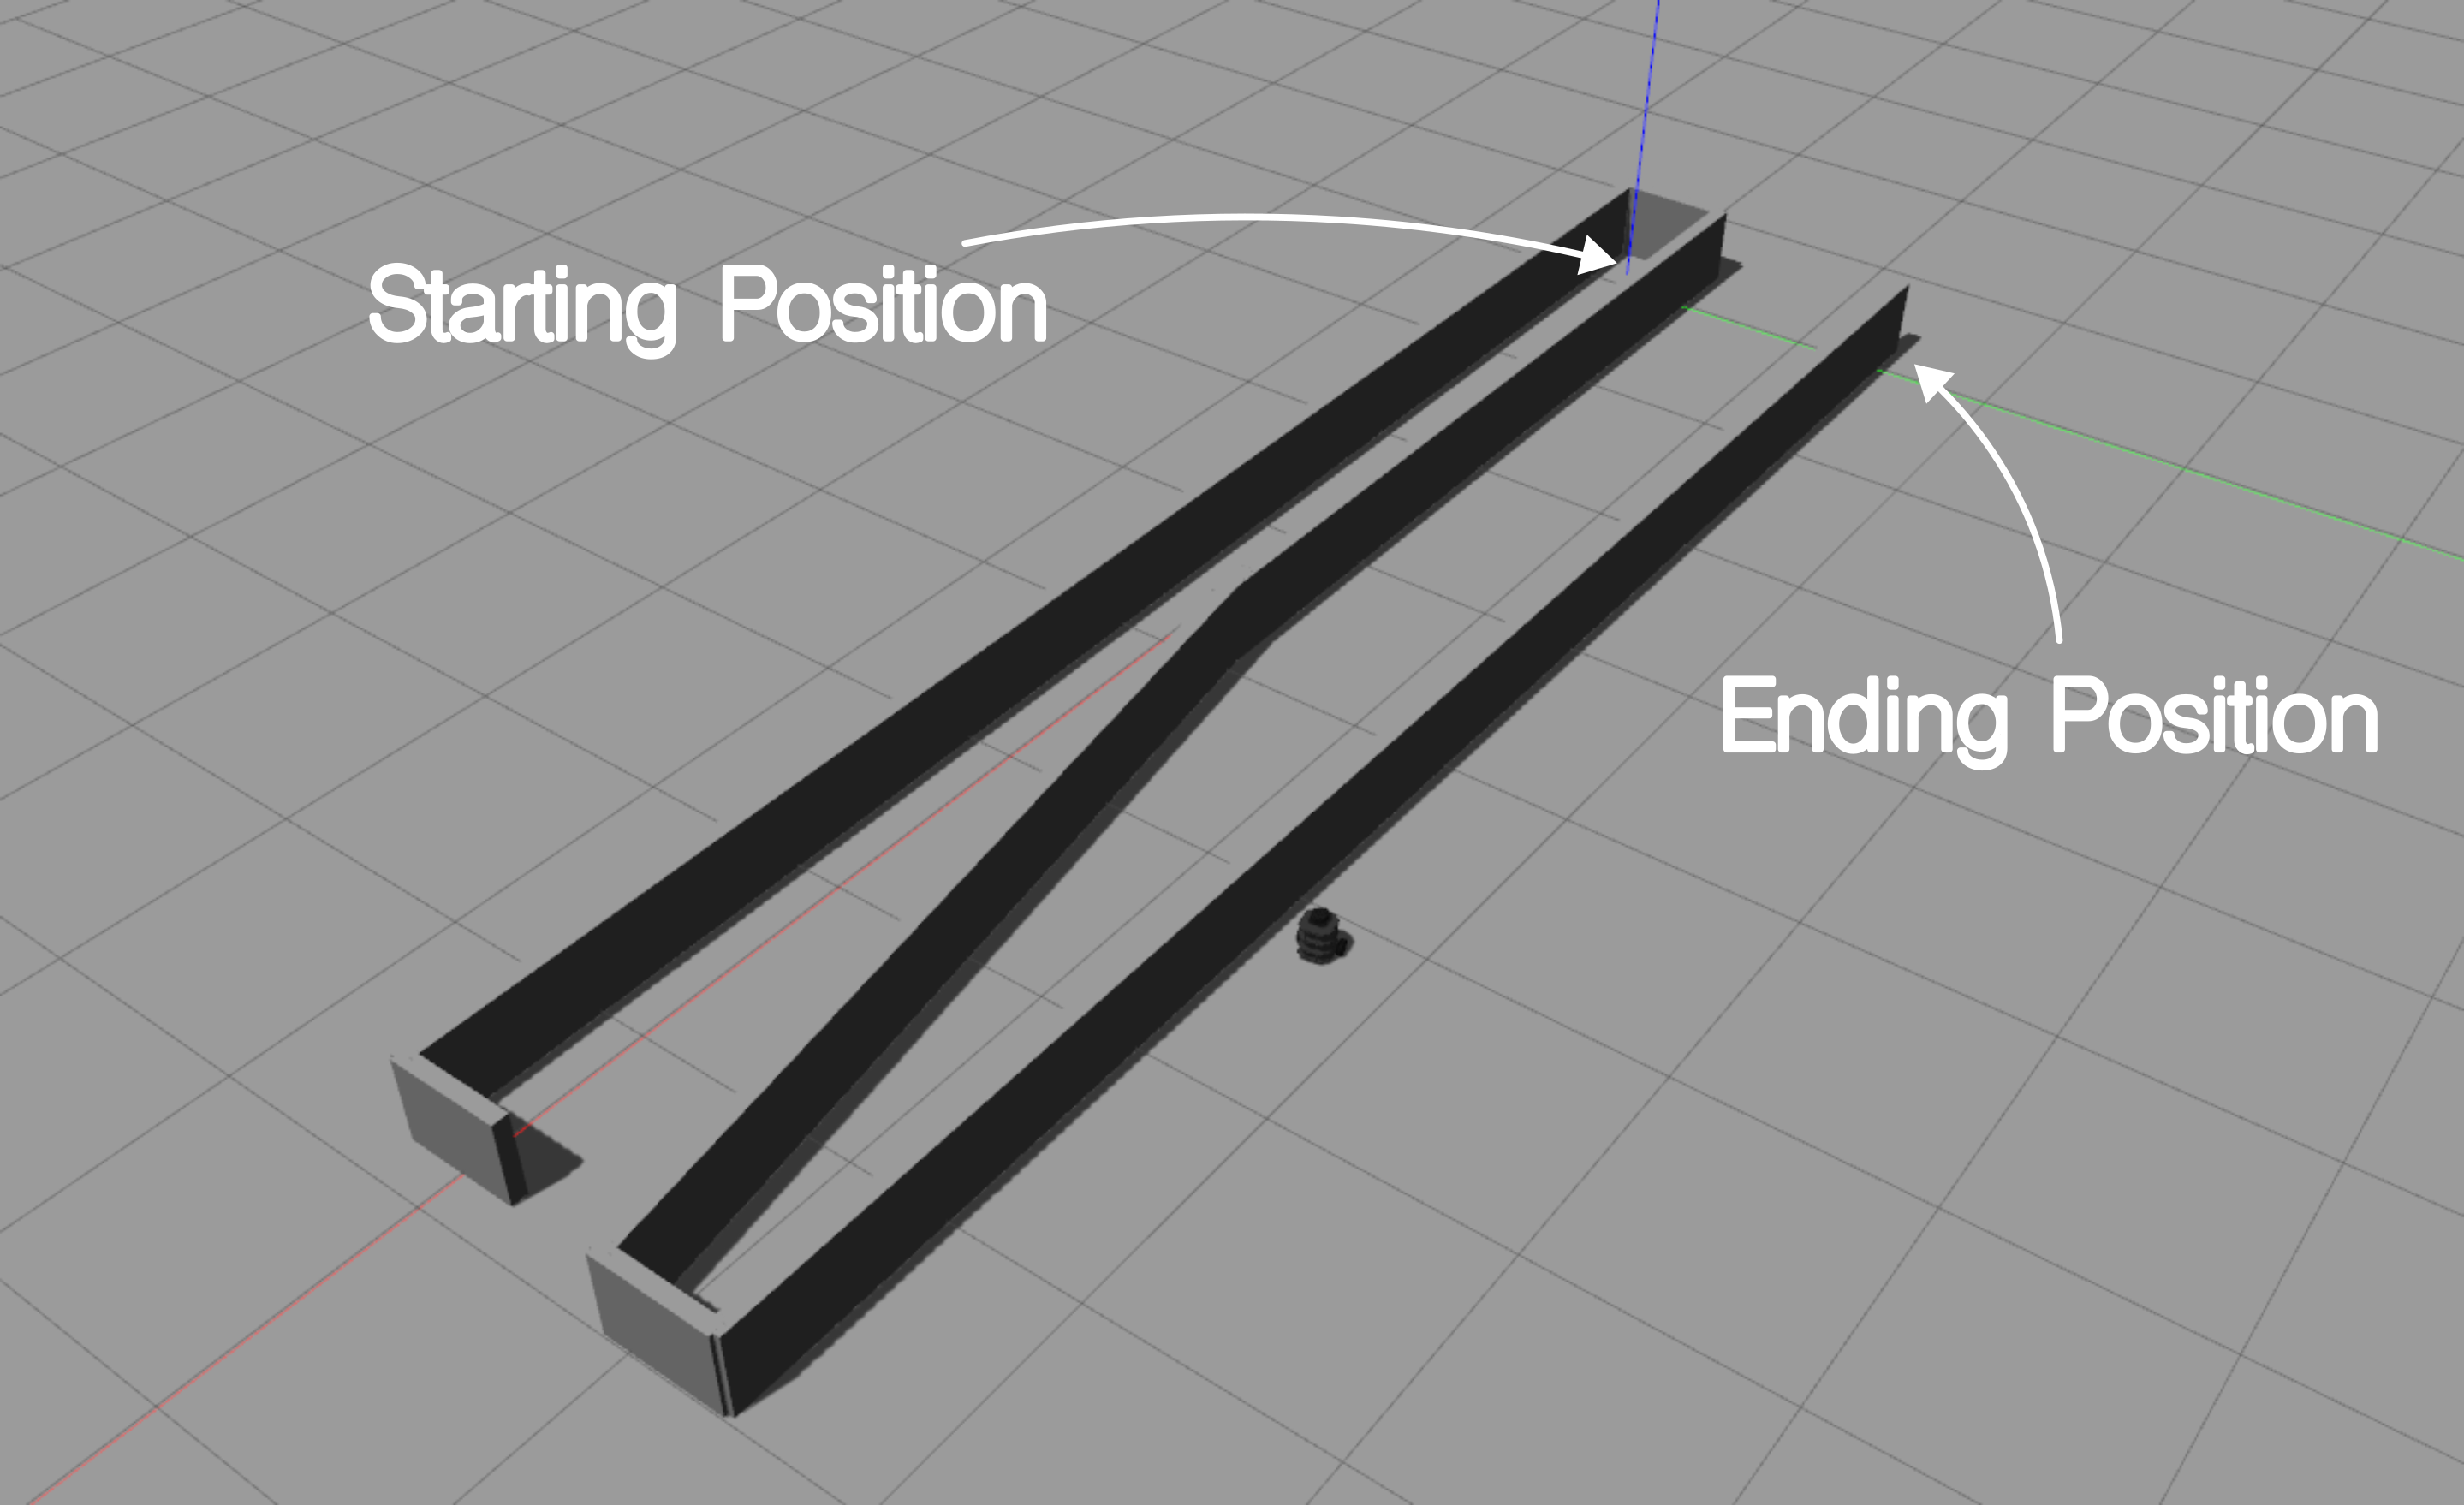
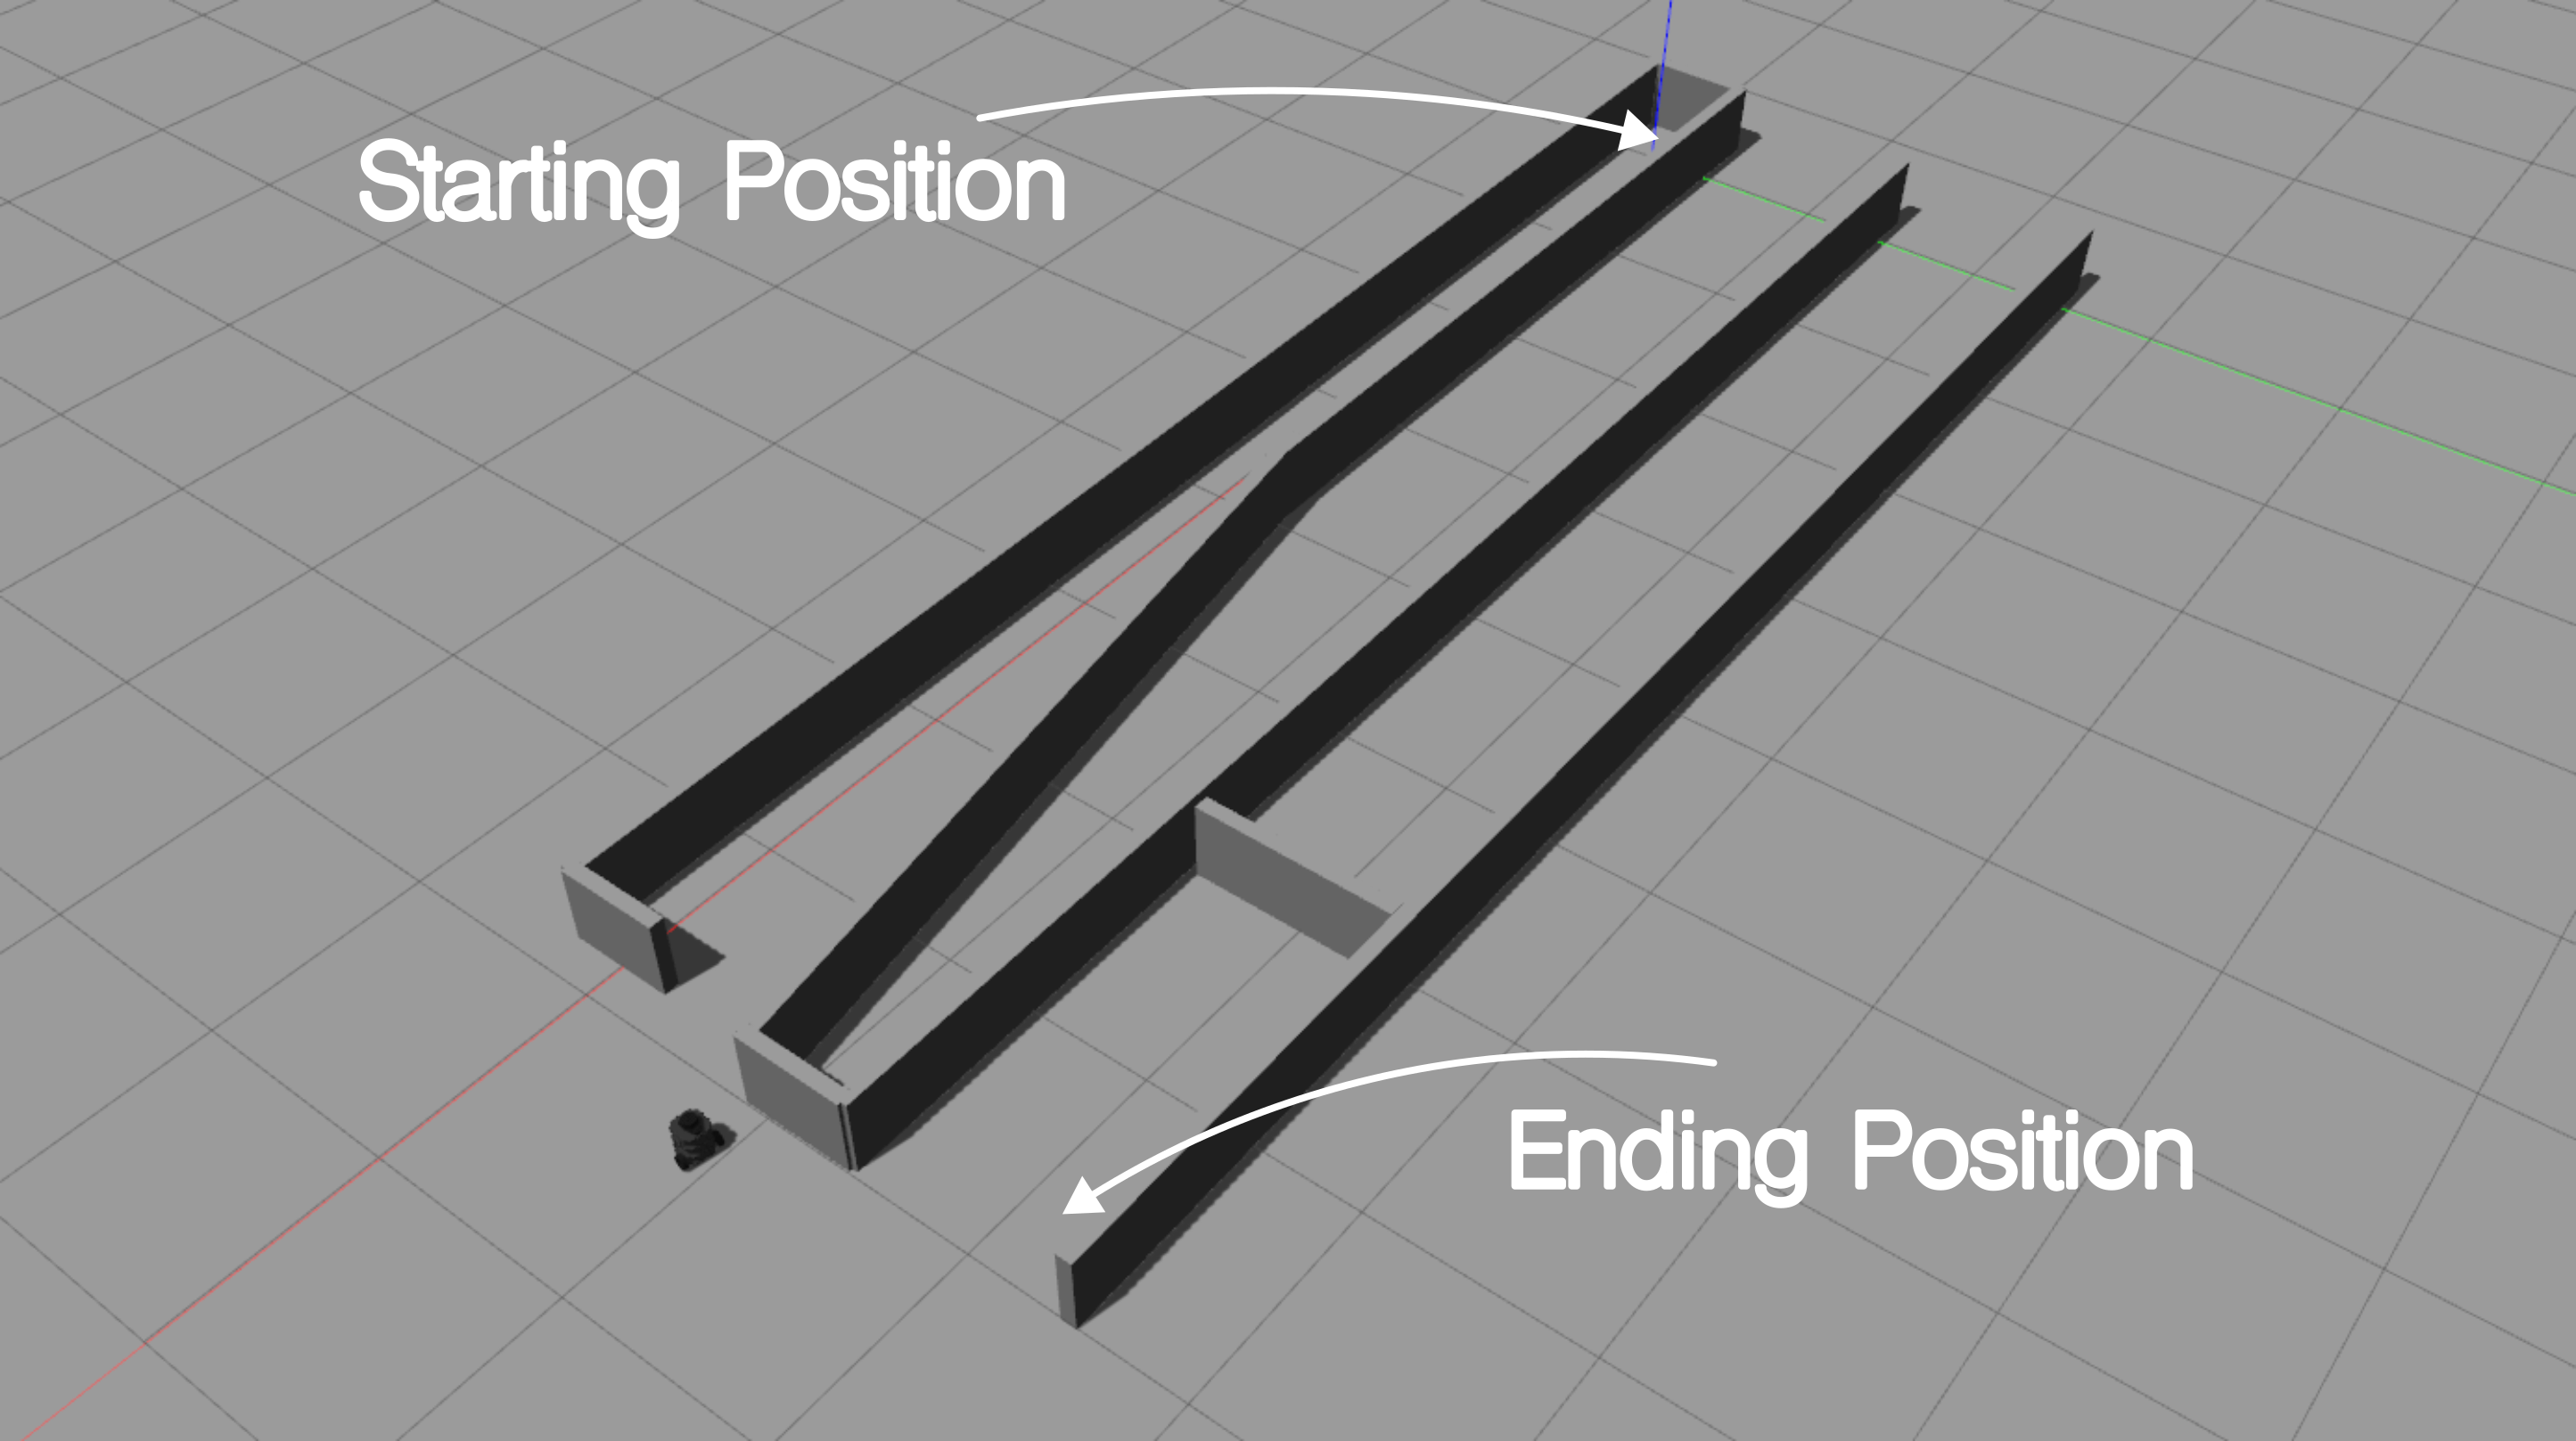
+ 10% Download the two new Gazebo worlds, namely complex.world and more_complex.world and place them inside the worlds folder of
ee106w26. Update the lab5_turtlebot_world.launch file to load the new worlds, for each experiment.
+ 15% Fully integrate the left-wall following behavior logic into the TurtleBot3 Burger’s motion-planning node, ensuring it publishes on /cmd_vel for the new complex worlds as well.
+ 10% Record a panoramic video of the resulting left-wall following behavior for each world and include the output of the ROS Node terminal, which will print out the following actions of the robot. Remember that you can always reset the Gazebo world state by pressing
Ctrl + Rduring your experiments.- 15% Penalty applies for each late day.
Left Wall-following Scenario
To perform the left wall following initially, we have to consider the type of sensor modules that the robot will need. In general, there are many types of sensors that can indicate the existence of a wall around the robot, either with physical touch or by distance. In our case, we place a LiDAR sensor on the top of the Turtlebot3 Burger, which provides 360° range measurements around it. For the left wall-following scenario, we can reduce the captured ranging measurements down to the front and left side of the robot. In many robots, an ultrasonic ranging sensor is used to provide distances of the front and left side of the robot, but in our case, the LiDAR can provide a range of distance measurements on the front left side of the robot.
The cases that a robot might experience during its exploration in a maze, by following left wall-following, are depicted below,

Initially, as can be seen from the image, every case can be modeled by using two parameters, the Left Side and the Right Side occupancy. Thus, the robot depending on the values of these two parameters can decide on the next action-move, which can be moving forward, left, or right. These cases can be represented also as the following lookup matrix,